How Can We Help?
There are a number of areas within MiBaseNZ that require text which can be significantly improved by also adding an image or inserting a link to another website, document or other online content, for example. These areas will all have a toolbar text editor.
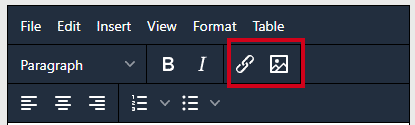
Two features of this text editor are the Insert/edit link and the Insert/edit image buttons.
Inserting a link
Text-based links are styled so that they stand out from other items on the page, they change colour as the mouse is moved over it, and the cursor will also change to a pointing hand.
To insert a link into text, whether it is just one word or a phrase, you need to follow these steps.
- First, load the page or website to which you want to link to. If it is a document you will need to upload it to MiBaseNZ’s Upload Files page.
- In the text, highlight the word or phrase you would like to link.
- Click the Insert/edit link button. A pop-up window will appear.
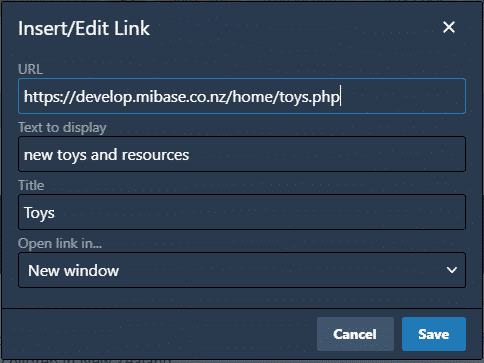
- Copy and paste the URL of the page or website into the URL field or the File Path from the Upload Files page.
The Text to display field should already have the word or phrase you highlighted. If you forgot to highlight, you can just type the words in here.
Add a Title.
The Open link in field should be New window so the page or website can be opened in a new window ensuring your website isn’t lost. - Click Save.
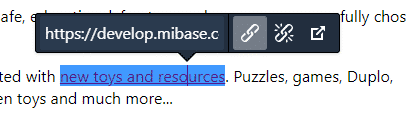
The word or phrase in the text will now be a different colour. Clicking the link (as you can see in the below image), a box will appear above it with the URL.
The last two buttons allow you to remove the link or open the link.
Inserting an image
To insert an image into text you need to follow these steps.
- First, know where you want to insert the image from as it determines where you upload the image.
- In the text, place the focus where you want the image to appear.
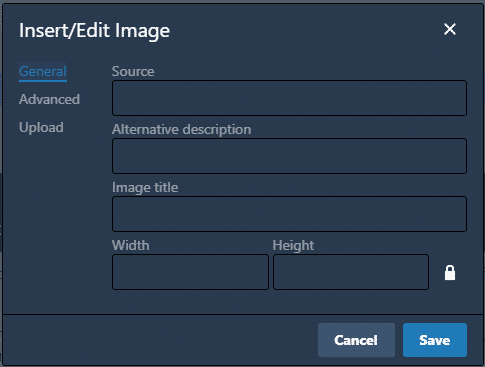
- Click the Insert/edit image button. A pop-up window will appear.
– If the image is already on MiBaseNZ’s Upload Files page, you can copy the File Path…
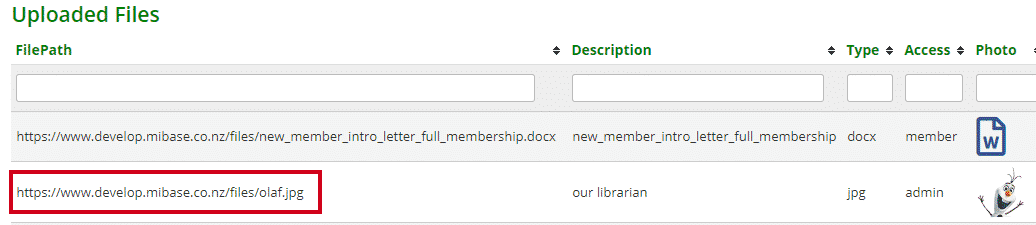
…and paste it in the Source field under General.
– If the image is on your computer click the Upload word and click Browse for an image. Find the image you would like to upload and either double click it or select Open.
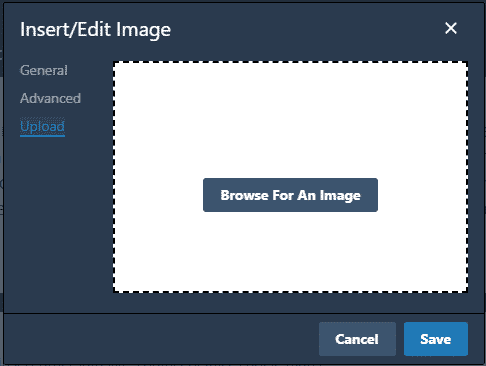
Once it loads, the pop-up window will switch back to the General pop-up window as mentioned above.
The Source field will automatically be filled with the URL for the image you have uploaded. - Add an Image title
- To ensure the size of the image is not too big, change the Width to 300. The height will automatically update. If it is already 300 or less, leave it.
- Click Save.
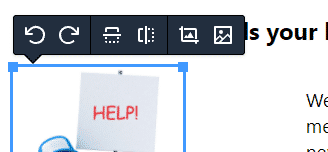
The image will now appear in the text. Clicking the image (as you can see in the below example), a box will appear above it with the following buttons:
- Rotate anti-clockwise
- Rotate clockwise
- Flip vertically
- Flip horizontally
- Edit image – another pop-up window will appear with editing options
- Image options – clicking this last button will open the Insert/edit image pop-up window.
*Note: In the Insert/edit image pop-up window you may have noticed the Advanced option. We advise you not to use this as it messes with the image hence no instructions provided.
