How Can We Help?
Every member within MiBaseNZ has their very own Member Detail page. Once a member has been added, and the information has been filled in, it can all be viewed here. You can also view other pertinent information regarding this member including their children’s details, toy loans and reservations, loan history, missing pieces and roster duties if relevant. Details can also be edited here and other functions can be accessed here as well.
There are a number of ways to access a member’s detail page:
- With a new member, this is created once the details have been saved, a success message appears with a box saying OK, and once this is clicked it will take you to the page.
Follow this link for more information on Adding a New Member. - Once a new member is added, in the second menu next to Members List, the member’s id number will appear, clicking that will take you to their detail page

- With a member already in the system, click Members List, find the member you are wanting to view and click the blue View button alongside it

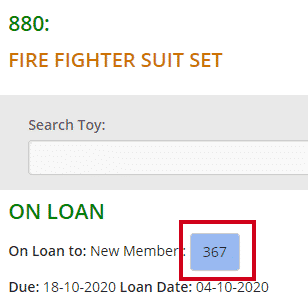
- Throughout the various pages related to members in MiBaseNZ, you will come across member id buttons, when clicked will take you to their detail page, for example in a toy’s detail page, when a toy is on loan to someone
Once you view a member’s detail page, their ID number will appear in the second menu bar next to Members List, as mentioned above. If you decide to go to the Loan page or Payments page their details will automatically appear.
Once you are in the Member Detail page, you will see there is a lot of information. We will break it down into sections and explain it in more detail below.
Member Name
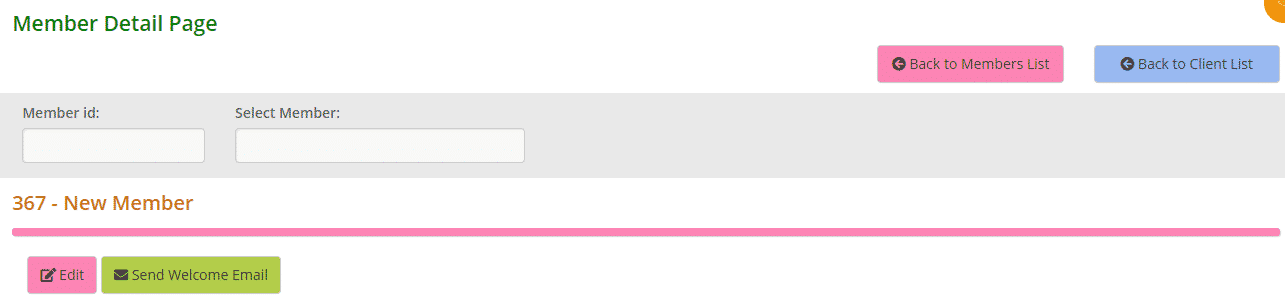
If this isn’t the member you were wanting to view, you can type in their id number in the Member id field if you know it or type in their name in the Select Member field and select from the dropdown menus.
Underneath this is the member’s id number and their name.
Below that is the pink Edit button. Clicking this will take you to the Edit Member page where you can change their details.
Next to that is the Send Welcome Email button. Clicking this will take you to the email page where you can view the email before scrolling down and clicking send.
If you have not set up this email yet or would like to make some changes, follow this link to see how.
Member Information
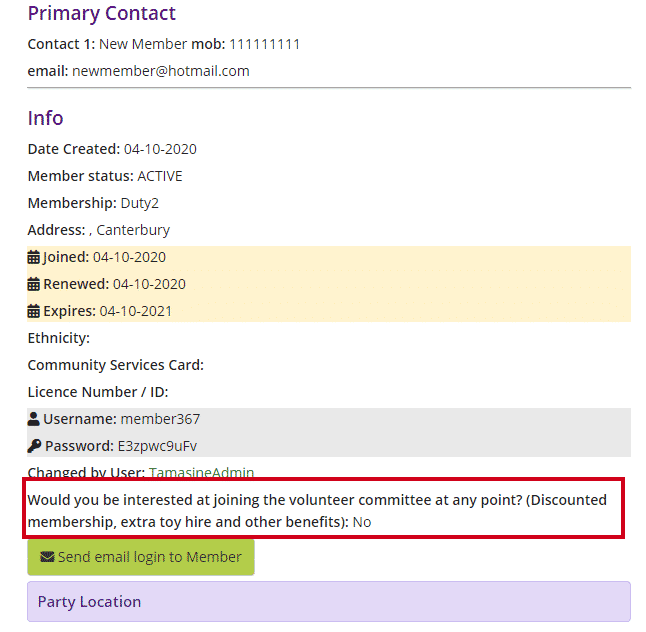
This is a list of all the information that has been saved for this member either when adding new or when updating/amending in the Edit Member page.
The section outlined in red you will not see in the New Member or Edit Member page. This question is listed in the online signup form in the Public Website if you are using it.
The green Send email login to Member button under this, allows you to send the member their login details to the Member Website (if your library is using it). Clicking this will take you to the email page where you can view the email before scrolling down and clicking send.
If you have not set up this email yet or would like to make some changes, follow this link to see how.
Party Location heading is only relevant if you are using the Party Pack module and a member has listed a different location to their address.
Roster
Whether the membership warrants the member to complete duties or not, the information will be recorded here.
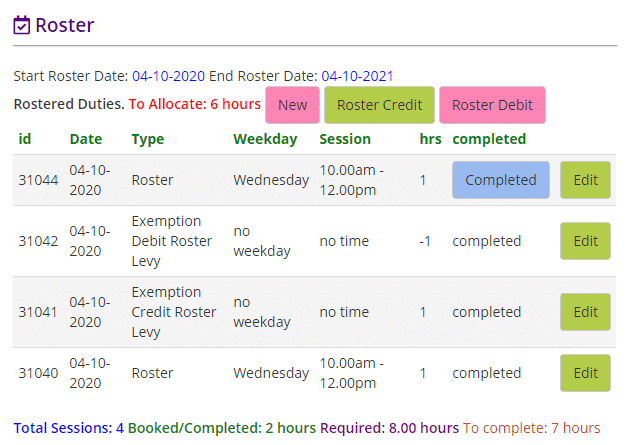
- Start/End Roster Date: the length of the membership
- Rostered Duties. To Allocate: total number of duty hours the member still needs to complete
- New button: clicking this will take you to the Add New Roster page. This will actually generate a whole new roster. To add the member to an already existing roster, go to Member-> Duty Roster. Read this article for further information Adding a member to a duty roster.
For information regarding rosters, read this article about the Roster System - Roster Credit button: clicking this will add a completed roster to the list. Handy if a member volunteers at an Opening Day for example and not during a library session. Clicking the green Edit button allows you to change the details.
- Roster Debit button: does the opposite and will remove a roster as you can see in the second line under the hour’s column, it is a -1. Again clicking the green Edit button allows you to change the details.
- Complete button: when a member has completed a duty, this button needs to be clicked for it to be recorded as done in the system. This can also be done in the Duty Roster page
- Total Sessions: this is the number of duties this member needs to complete
- Booked/Completed: records the total number of duties already completed and the duties booked to be done
- Required: total number of duty hours this member needs to complete
- To complete: number of duty hours the member still needs to do
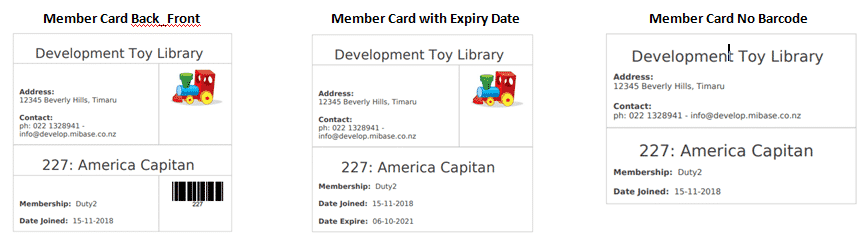
Member Card
This is where you can select from the dropdown menu a member card to print and give to your members. Select which one you would like from the menu then click Open membercard on pdf.
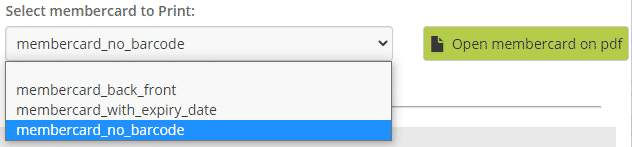
If you do not like these options and would like a different layout or other information on your member card, Open a ticket with details of your request.
Children
This is where the member’s children are listed. New children can be added here and their details can also be edited.
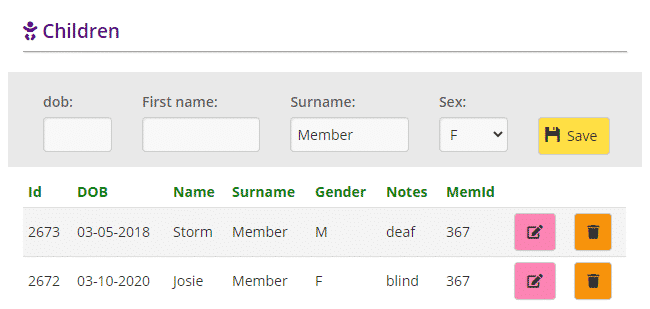
For further information on this, read the article How to add, edit or delete a child’s details.
Toy on Loan
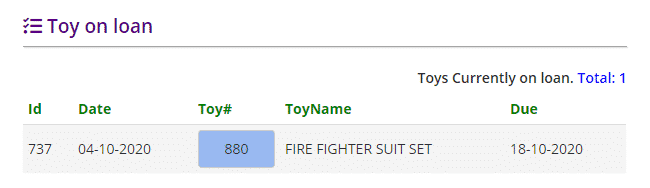
This is a list of all the toys the member is currently hiring. By hovering your mouse over the blue button, the image of the toy will appear. Clicking the button will take you to the toy’s detail page. The member can also see this list in the Member Website.
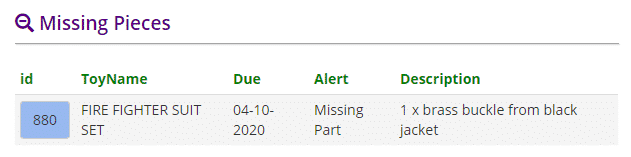
Missing Pieces
A list of pieces the member has lost when hiring a toy. The member can also see this list in the Member Website.
Reservation Active
A list of current reservations for this member. These can be made by admin or the member can do it for themselves in the Member Website.
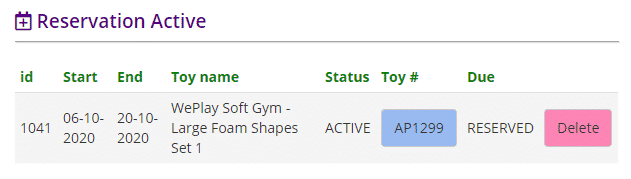
The reservation can be deleted by clicking the pink Delete button. It can also be deleted in the Reservation List page or the member can do it for themselves in the Member Website under the My Library page.
Toy loan’s history
A list of all the toys this member has hired out since starting with the toy library.

- #: number allocated for each loan made to this member
- id: the number allocated to identify/record the loan
- Date: day the toy was loaned
- Toy#: self-apparent. Hovering your mouse over the green button, the image of the toy will appear. If the button is white, it means the toy has no image. Clicking the button will take you to the toy’s detail page.
- ToyName: self-apparent
- Due: day the toy was due back
- Returned: the day the toy was returned
- Overdue: the number of days the toy is on loan. If the number is black, that is the number of days left till it is due back. If the number is red, that is the number of days the toy is overdue
- Delete button: clicking this button will permanently remove the toy from the list
