How Can We Help?
Once you have created your different membership types, you can now start adding in your members. MiBaseNZ has a rather detailed New Members page which will automatically assign your member the next available ID number.
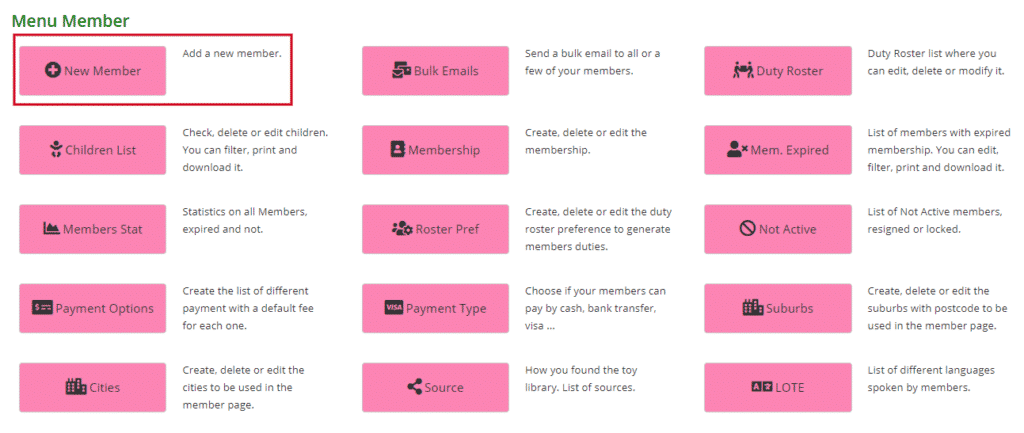
Go to Member -> New Member
This page has a lot of areas to complete. Some are mandatory (*) and others depend on what your toy library would like to use/fill in.
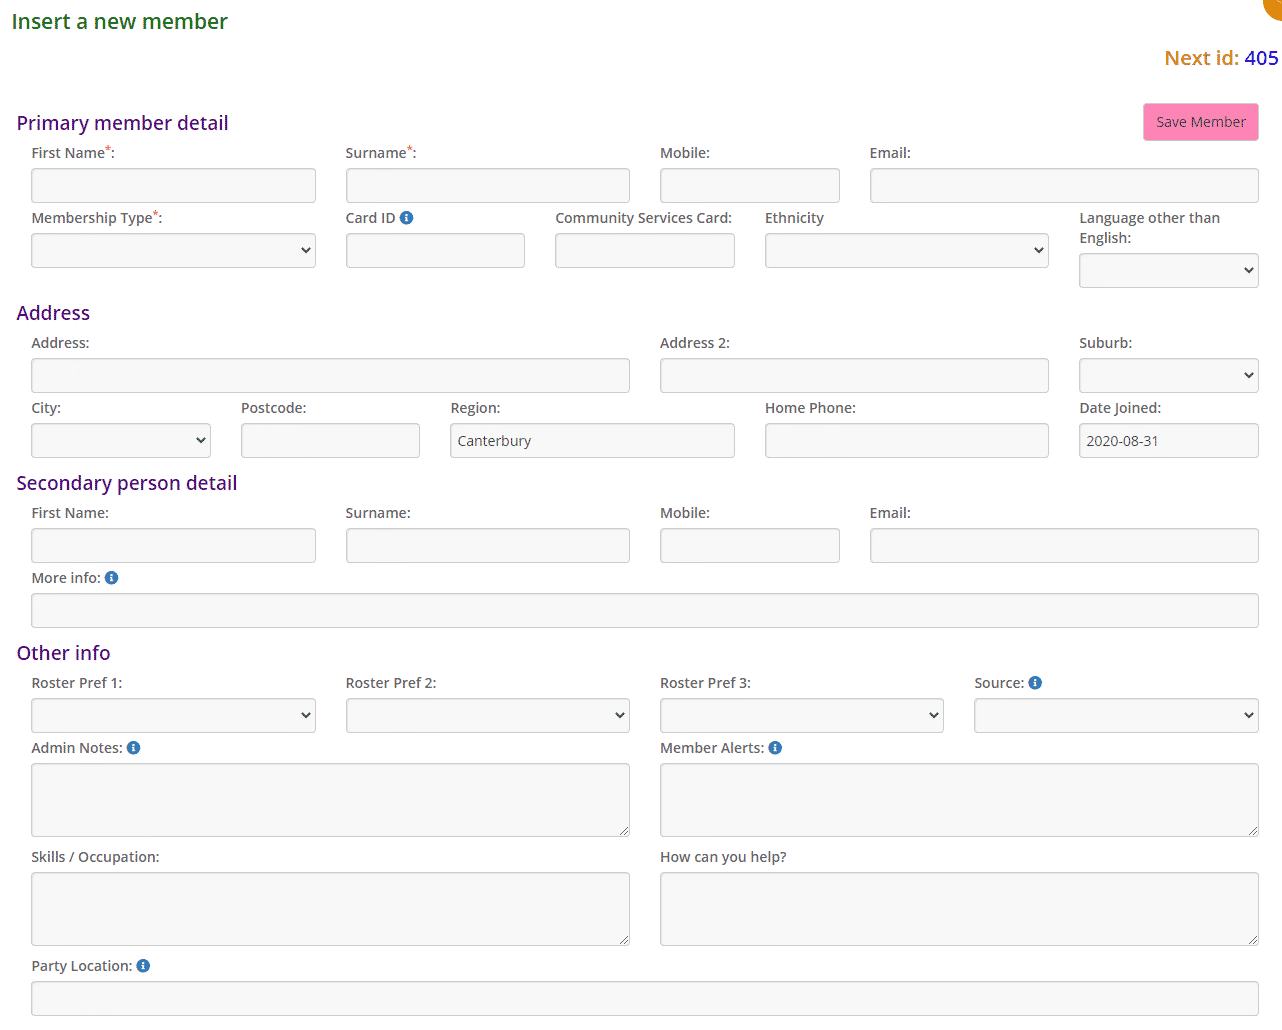
Points to be aware of:
Primary Member Detail
- First Name and Surname – these are mandatory.
- Membership Type – this is mandatory. Select from the dropdown box the membership the member would like. If you have not set this up already, please go to this link Create a new Membership to do so.
- Ethnicity – choose an ethnicity from the dropdown box if applicable. If you have not set this up yet, follow this link Ethnicity – add or delete to do so.
- Language other than English (LOTE) – choose a nationality/language from the dropdown box if applicable. If you have not set this up yet, follow this link Language other than English (LOTE) – add or delete to do so.
Address
- Suburb – choose a suburb from the dropdown box. If you have not set this up yet, follow this link Suburbs – create, delete or edit to do so.
- City – choose a city from the dropdown box. If you have not set this up yet, follow the link Cities – add or delete to do so.
- Postcode – once you have selected a suburb, the postcode will auto-fill if you have added that on the Suburb page.
- Region – this is completed already based on the default region you have chosen in the admin setting. If you have not set this up yet, follow this link How to set up a Default Region to do so.
- Date Joined – this automatically fills in the current day’s date.
Other info:
- Roster Preference 1/2/3 – this applies to Duty members. From the dropdown menu, members can choose what times they would prefer to complete a duty. If you have not set these options up yet, go to this link Roster Preferences – add or delete to do so.
- Source – choose a source from the dropdown box. If you have not set this up yet, follow this link Sources – add or delete to do so.
- Admin Notes: these notes will only show up on the admin website, members will not see these notes
- Member Alerts: these alerts will appear on the Member Website. Good to use if you need to let the member know something specific to them
- Party Location – this is only relevant if your library has the Party Pack module. If it does, add an address only if it is different to the home address.
Once you filled in all the data, click the Save Member button at the top of the page. You will then see information relevant to the member you have added and that they have been successfully saved. The Membership fee added can be seen on the member’s Payments page.
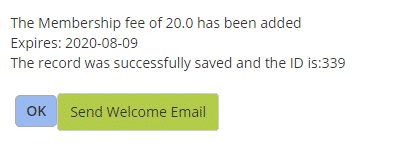
If you click OK, you will be taken back to the Member Detail page.
If you click Send Welcome Email, you will be taken to the Welcome Email template. At the bottom of this page, click the button Send Welcome Email.
If you have not already set up this Welcome Email template for your library, follow the link to see how.
